
Wrap Skirt Tutorial (updated July '21)
Wrap Skirt Tutorial

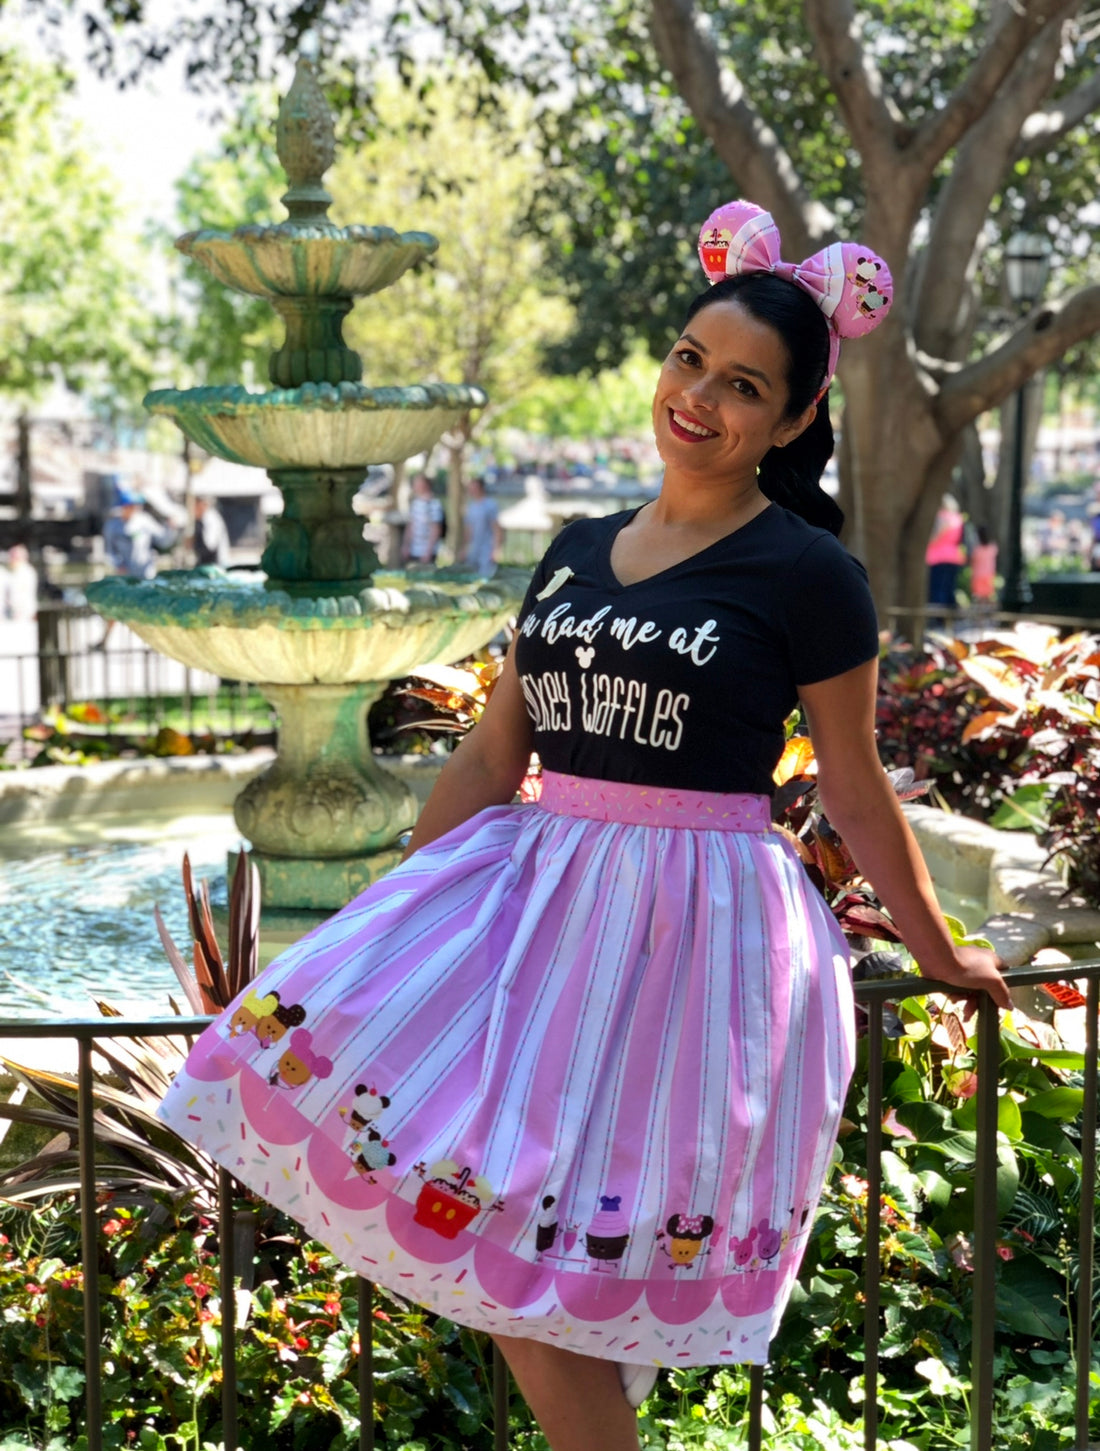
A nice introduction to skirt making- this gathered wrap skirt has a snap and hook/eye closure (no zipper required)! Border prints are perfect for this!

Materials:
- woven fabric (border prints are great!) - see below to determine how much you will need
- 2" wide soft waistband elastic (the picture shows 1.5", but this tutorial is written for 2")
- sew on skirt hook & eye closures (2 sets)
- sew on snaps (2 sets of the large size)
- SF101 (about 1/2 a yard)

How to calculate how much fabric you will need:
We will be working with two main pieces in this pattern- the waistband and the skirt. The waistband is 1.3x your actual waist measurement. The skirt will be pieced together with two pieces and is roughly 2.75x the waistband measurement.

This is roughly how we will be using the fabric:

Now that we've got all our materials, let's get sewing!
STEP 1: Trim your border for a clean even hem. I pick a point on the border design that repeats to use as my reference and trim from there. In this case I used the bottom edge of the pink line and trimmed 5" lower. This leaves enough of the darker edge under the design to hem the skirt. Trim the selvage off the border along BOTH sides of the fabric.

STEP 2: Determine skirt length and cut your skirt pieces. I folded my fabric in half- matching the long edges below the border together. When deciding on length, be sure to leave at least 3" of the FOLDED fabric alone (6" wide) as we will need this for the waistband. I opted for a 26" length (my ruler is 24").
Cut your skirt pieces at your desired length. You can cut them individually (measuring up from the edge below the border), or if you're feeling brave, you can keep the fabric folded and make one cut.

You should now have 2 long skirt pieces and 1 long skinny piece at least 6" wide for the waistband:

STEP 3: Join your skirt pieces. You can pattern match if you'd like, though no one will give it a second glance if you don't. I like this Team Snacks Border print because there are spaces between the designs that allow for easy pattern matching! :D

Give the seam a good press with your iron. If you have a serger, you can clean up the raw seam on the inside. If you don't, you can give it a zig zag, or leave it as is.

STEP 4: Now that you have this massively long piece of fabric, let's hem it! Fold up the long bottom edge ~1/4" and press with your iron. Fold it up again another 1/4" and press again. Repeat all the way along the bottom edge.

Hem the skirt, by top stitching along the bottom edge (I like to use a 3.5 stitch length), making sure to catch the fold underneath.
REPEAT for both of the shorter sides!

STEP 5: Gather the skirt. If this is your first time gathering a skirt or want a quick refresher, I highly recommend watching this video. (No affiliation, I just think it's a good explanation to gathering.)
BEFORE we start gathering, fold the skirt in half to mark the center (I stick a pin in it), then fold again and mark the 1/4th and 3/4th points, so you can see 4 equal sections.
We are going to put in 4 sets of gathering stitches AND these points will help us evenly distribute the gathers when attaching to the waistband.
I use the longest stitch length I have (4.8) and I run 2 lines of gathering stitches about 1/8" apart. It's kind of like basting. Don't back stitch!
Sew from the end to your first pin (1/4th mark), pull some long tails of thread, then start again very close to where you left off. This will help prevent any gaps in gathering.
Once you have all 4 sections sewn with gathering stitches, grab either the top or bottom threads on one end and pull. The fabric should start to gather, like the picture below.

After you've pulled on all the threads, you should have a gathered skirt that looks something like this! Don't worry about it being uneven, we'll adjust it later. :)

STEP 6: Cut the waistband piece. Using the long skinny piece from the center of the fabric, cut a piece that is 5.25" wide and 1.3x your waist.
Fuse SF101 or other woven interfacing to the wrong side of the fabric.
Fold in half the long way and press with the iron to create a crease. This is the top edge of your waist band.
Mark the center point and 1/2" in from both short sides. The match up those points to find the quarter mark points. We will be lining these points up with the ones we made on the skirt piece.
Your waistband should look a bit like this:

STEP 7: Pin your skirt to the waistband. Lay your waistband piece right side up. Lay your gathers skirt piece right side down, matching up those marks we made at the quarter, half, and 3/4th points on the waistband and skirt. Match the ends of the skirt up with the marks we made on the waistband 1/2" in from the short ends.
It's okay, actually good, if your skirt is not as long as your waistband. We will adjust it in the next step. :)

STEP 8: Easy the skirt gathers out to fit the waistband. Start in one section and gently push the gathers around until they are even. I pin about every 1-1.5". Yes, it's a lot, but it'll be worth it later!

STEP 9: Sew your skirt to your waistband with a 5/8" seam allowance. I prefer to sew with the gathers on top so I can adjust them as I sew. I sew a few inches, adjust the gathers, and then keep sewing.

You should now have something that looks like this!

STEP 10: Cut your soft elastic to fit into your waistband. It should be within the 1/2" marks on the waistband. Set it aside once cut.
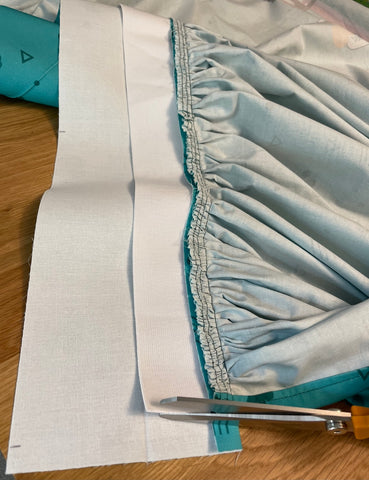
STEP 11: Fold down the raw top edge of your waistband 1/2" and press with an iron. If you fold the waistband in half, the long edge should cover the stitches where the skirt/waistband connect by ~1/8"-1/4".

STEP 12: Sew the side seams of the waistband. Fold the short ends of the waistband RIGHT sides together. Fold it at the crease- the long edges (the one you just folded and the seam where the skirt attaches to the waistband) will NOT match up.

In the photo below...
Fold along the crease. (Purple)
The skirt side of the waistband should be slightly shorter. (Pink)
Sew along the short edge, using the skirt as a guide. (Blue)

Clip the corners and flip the corner right side out. It should look like this now, with the raw edges inside the waistband.

STEP 13: Tuck the soft elastic into the waistband so it is underneath the seam allowance of the skirt.

STEP 14: Top stitch to sew the waistband shut. We will be stitching from the top of the waistband to catch the fold on the underside. This can be tricky, so go slow and check your progress as you go.

Those stitches should have caught the waistband on the underside, so it looks like this:
If it's not perfect, don't worry! No one will see this but you. ;)

Your skirt should look something like this!

STEP 15: Fitting! I prefer to try it on to get the correct fit. Use a couple clips to hold it in place, then slip a pin at the points where the ends of the waistband lie.
** For this tutorial, my skirt closes on the left side of the person wearing it. If you opt to have the closure on the right side, the positions of your hook/eye and snap closures will be reversed.

Take off the skirt, match up the skirt again, using your pins as a guide. Hold in place with clips. These are the closure points - hook/eye (green) and snap (pink).

STEP 16: Hand stitch the hook/eye clasps. These will be on the covered layer of the skirt. With the clips holding the skirt layers in place, move the pin in ~1/4" and poke a second one on the other layer at the same spot.
The "eye" pieces will be sewn on the outer layer (green) and the hook pieces will be sewn on the inner layer (pink).

To give you an idea of where the pieces will go. Hand stitch them down, making sure they are roughly the same spacing from the top and bottom edges of the skirt (we want them to line up later).

Use a whip stitch to catch just the top layer of the fabric when sewing on the closures. Do NOT poke all the way through the waistband or your stitches will be visible from the outside.

They should look something like this! Test them out to see if everything lines up.

STEP 17: Use the same steps to attach the snaps in the Snap Closure position mentioned in Step 15. Test out how your snaps close- one side is usually more bumpy than the other. I like to put the thinner side on the outer layer of the skirt to reduce bulk.
Tip: (in step 3 of the picture above) when hand stitching the closure pieces on, poke the needle under the fabric and pop back out at a different point to move around the piece.

We're almost there! Test out your closure to make sure they line up!

Give your skirt a good ironing and you're all set!
